
This will be a very quick post since there is nothing new on this project….except maybe the use of openscad to do the design of the train structure.
Original goal is to have a small electric train running all over the office hanging on the celling. This is the prototype 😉
I simply buy an electric train on Amazon :
Then I rip it apart to understand how it works to be able to hack it.
Train principle
The train itself is very very stupid and is just some metal structure (pretty heavy by the way) with a motor.
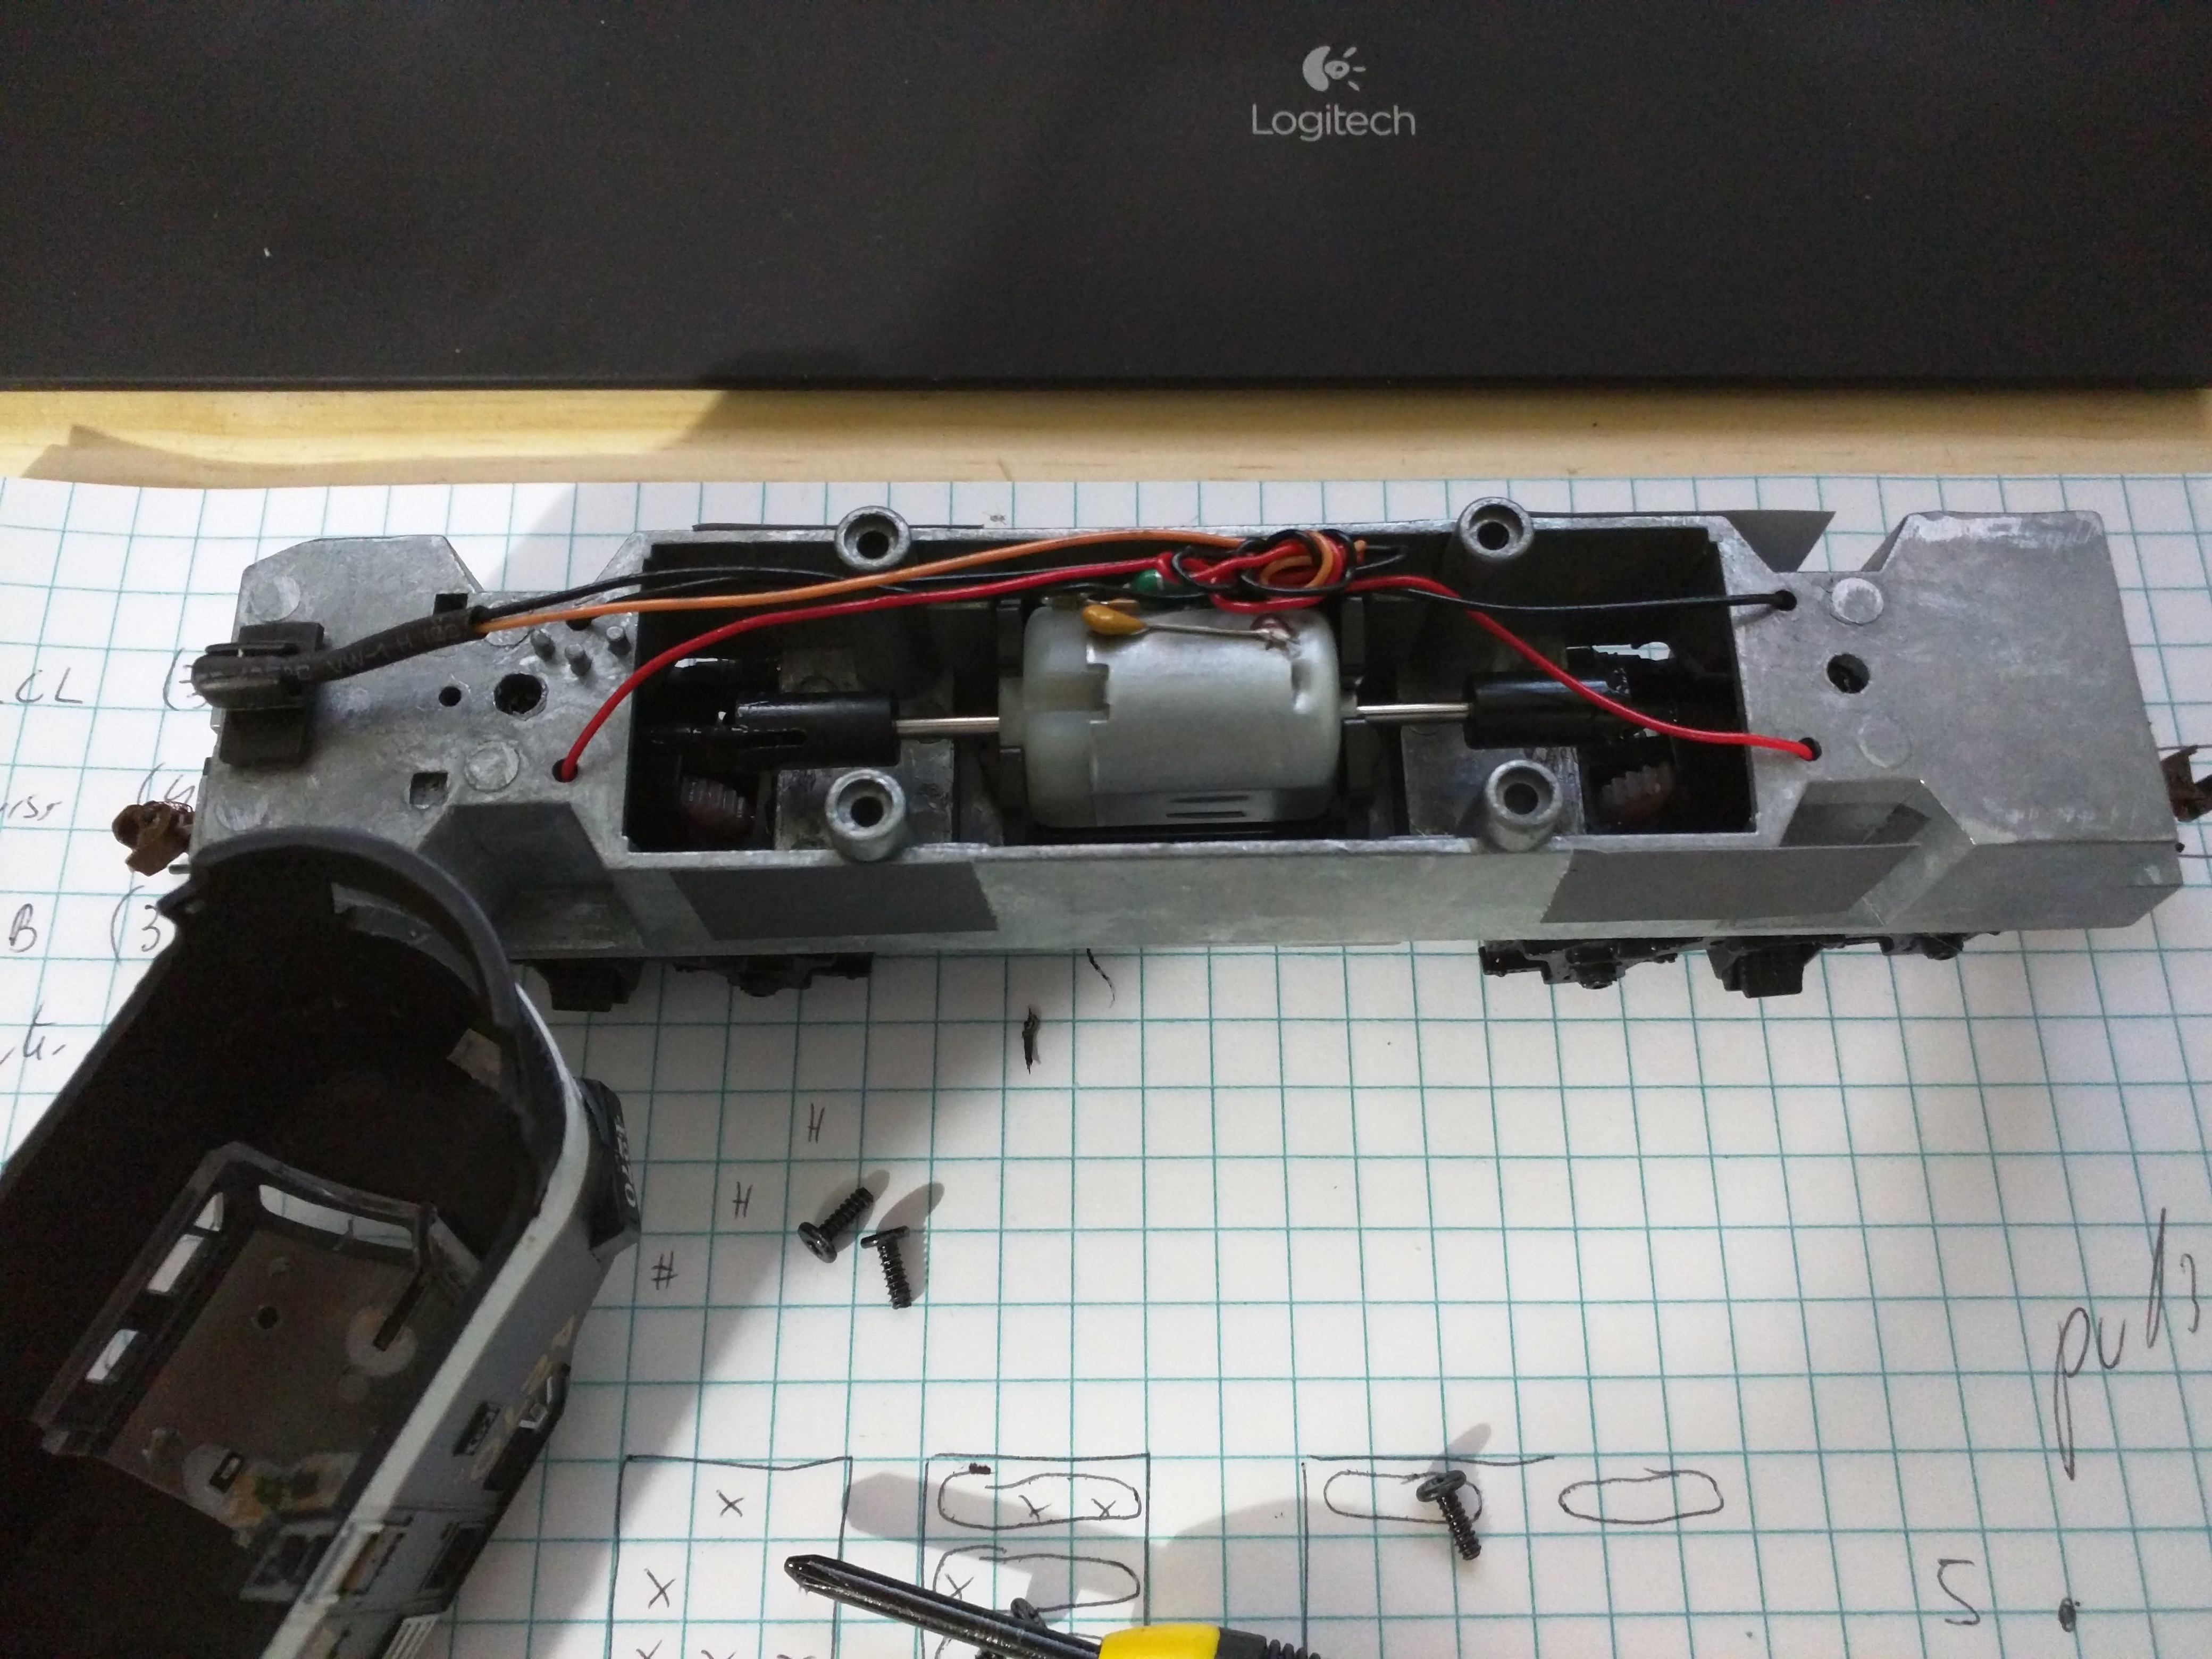
The power for the motor comes directly from the rail through the wheels:

The rails on the other side are smarter since there is a control panel to change the train speed/direction.
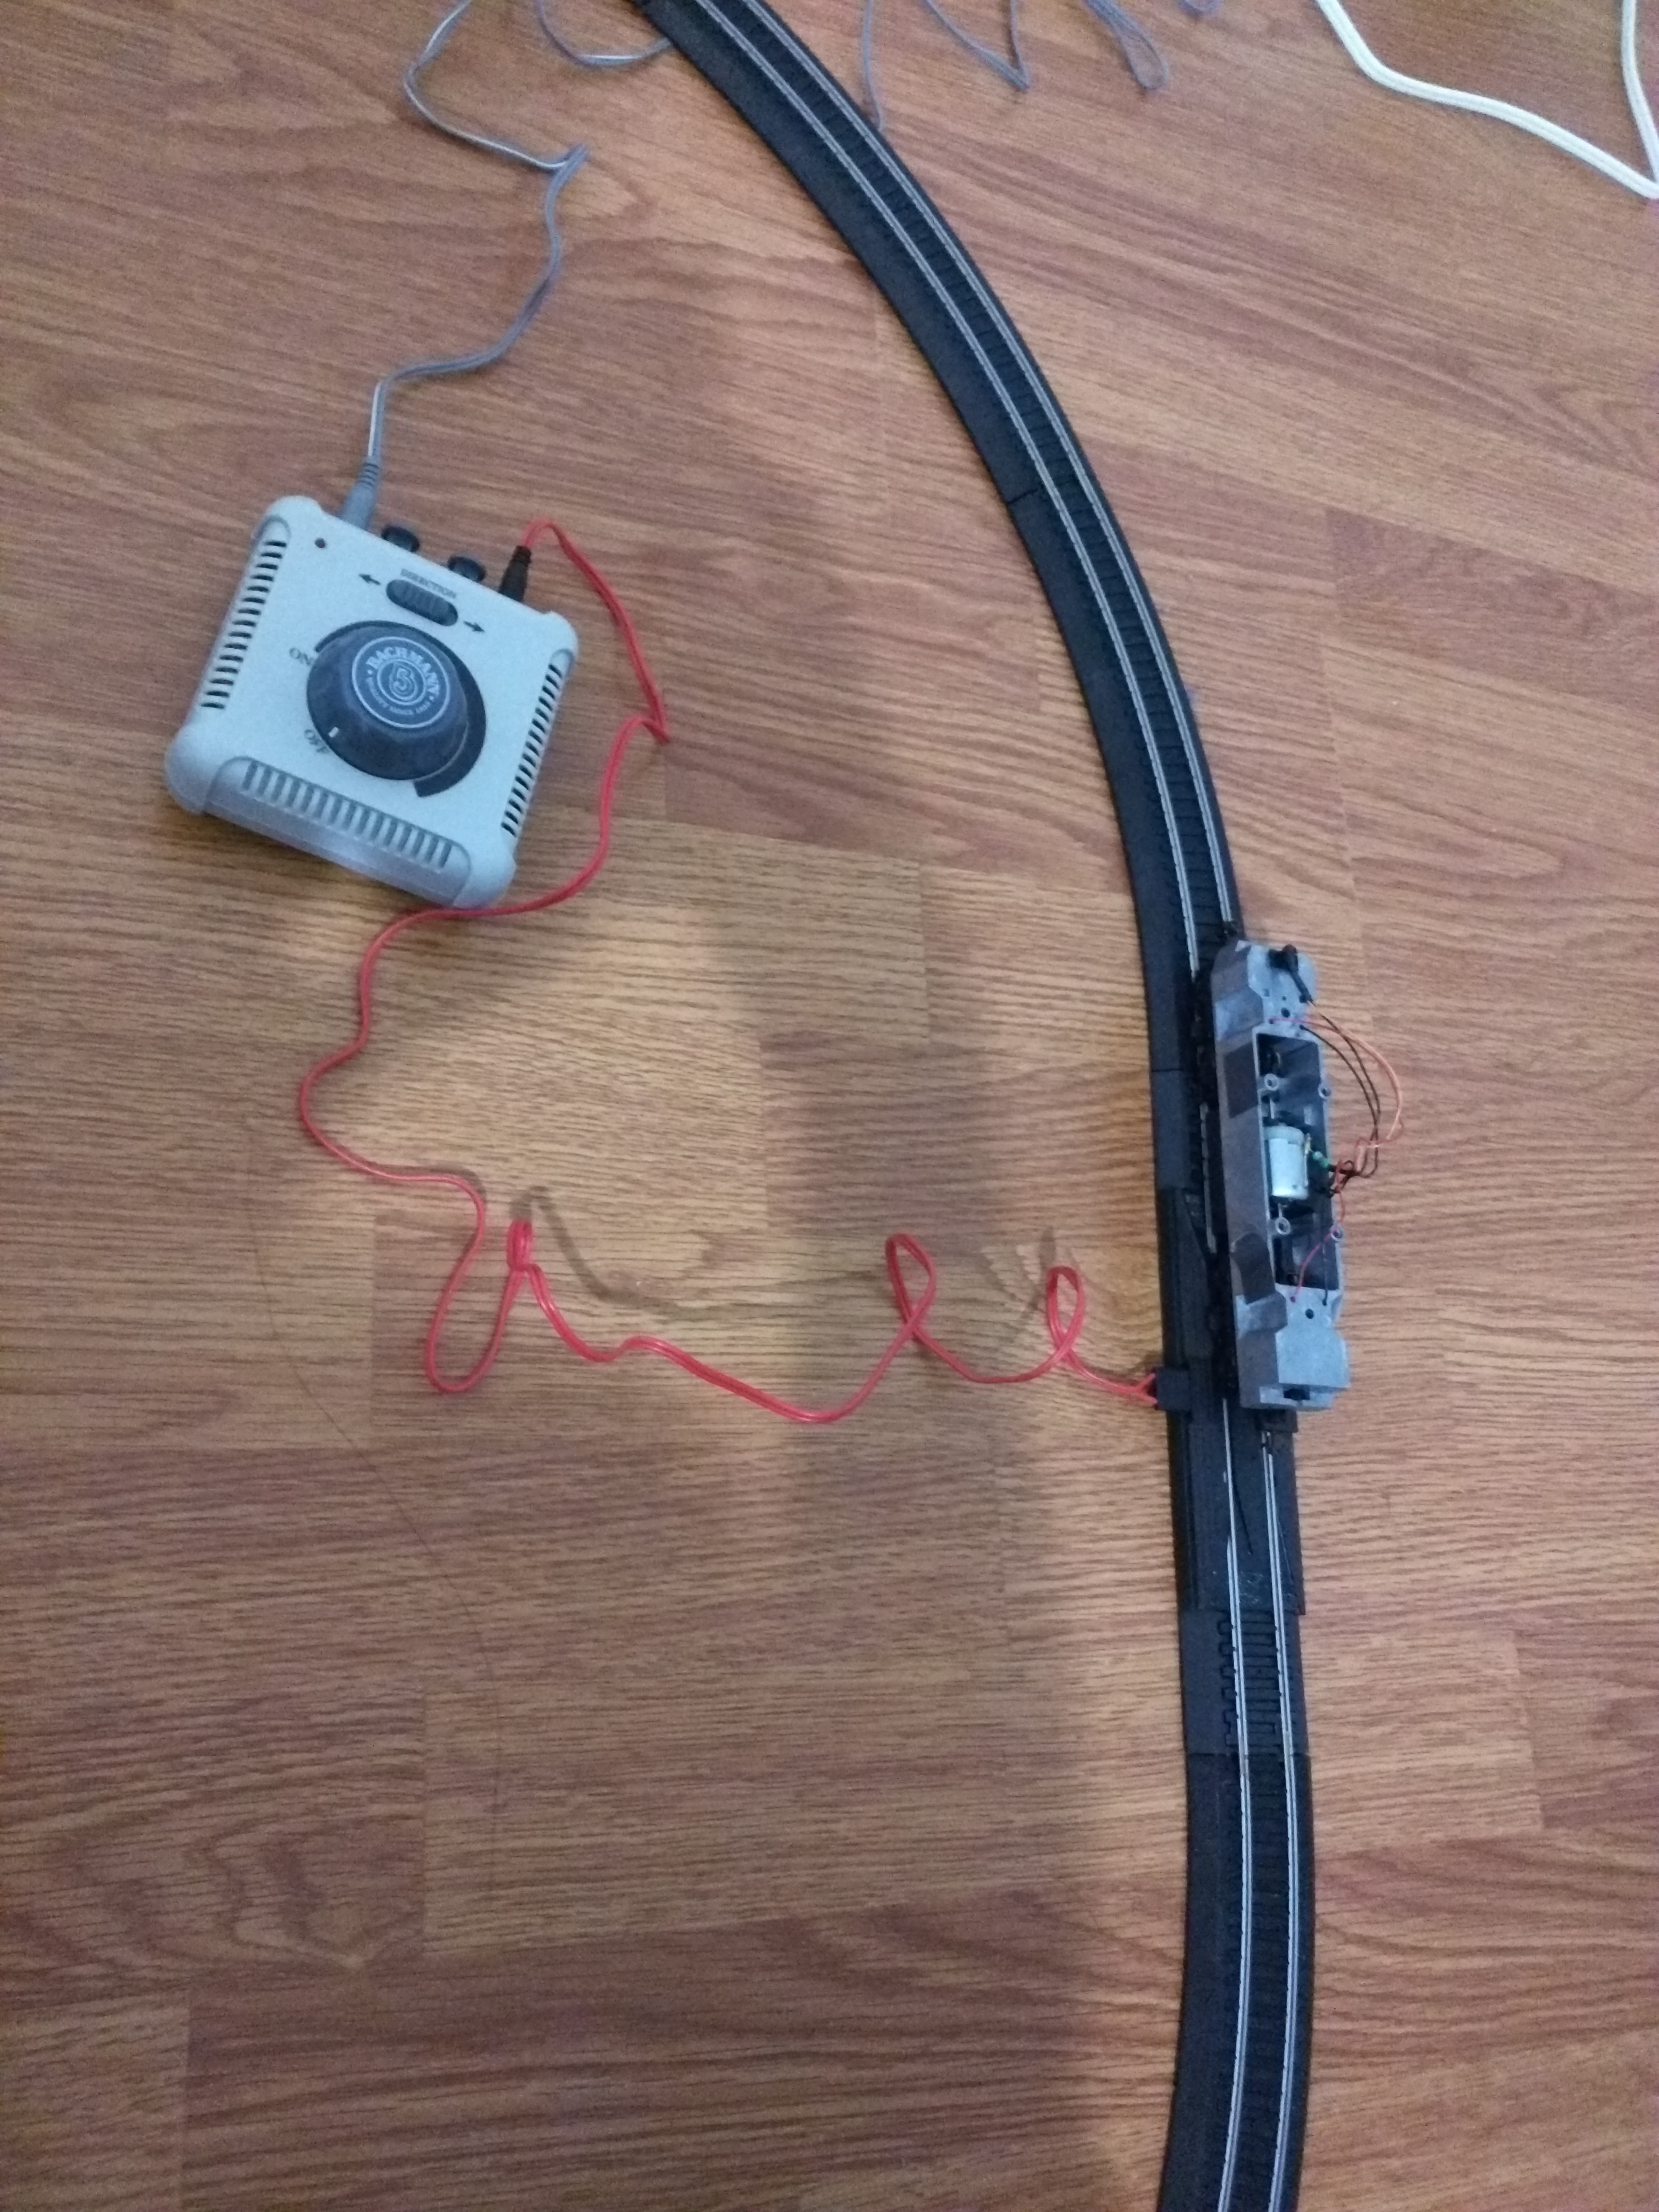
The principle is thus very simple…..The command panel generate a different tension in the rail to increase/decrease the speed. It can also invert the tension to go revert.
Hack it
I wanted several things:
- Possibiility to control the train from phone
- Train should works without a close circuit (in the office we only have one straigt way).
I decided to put the logic in the train rather than the rail. To do so I used an Arduino Micro (same as leonardo but smaller) with a motor controller and a BT receiver. There is nothing new here that I already done/explain in previous project except the motor controller.
The Bluetooth communication with an Android APP is the same software that the one used in this previous project : http://djynet.net/?p=639
The motor controller is the one of Sparkfun (HERE) and can control up to 2 motors. I used it to be able to change the motor rotation direction and speed (with PWM from arduino). This is indeed mandatory because the train will have to go in the 2 directions due to the linear rail circuit (one strait line).
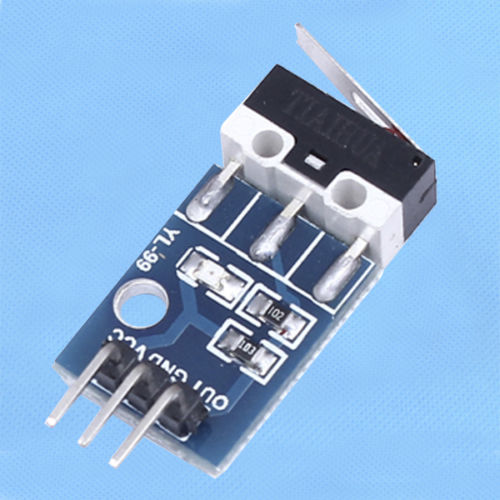
The rails have now a constant tension of 12V from a AC/DC converter which power all the cards. The train is equipped with 2 sensors at front and rear. They are used to detect collision at the end of rail road and change the motor direction to go reverse
The program is pretty simple since it just monitor collision sensor to change direction and serial bus for incoming Bluetooth message.
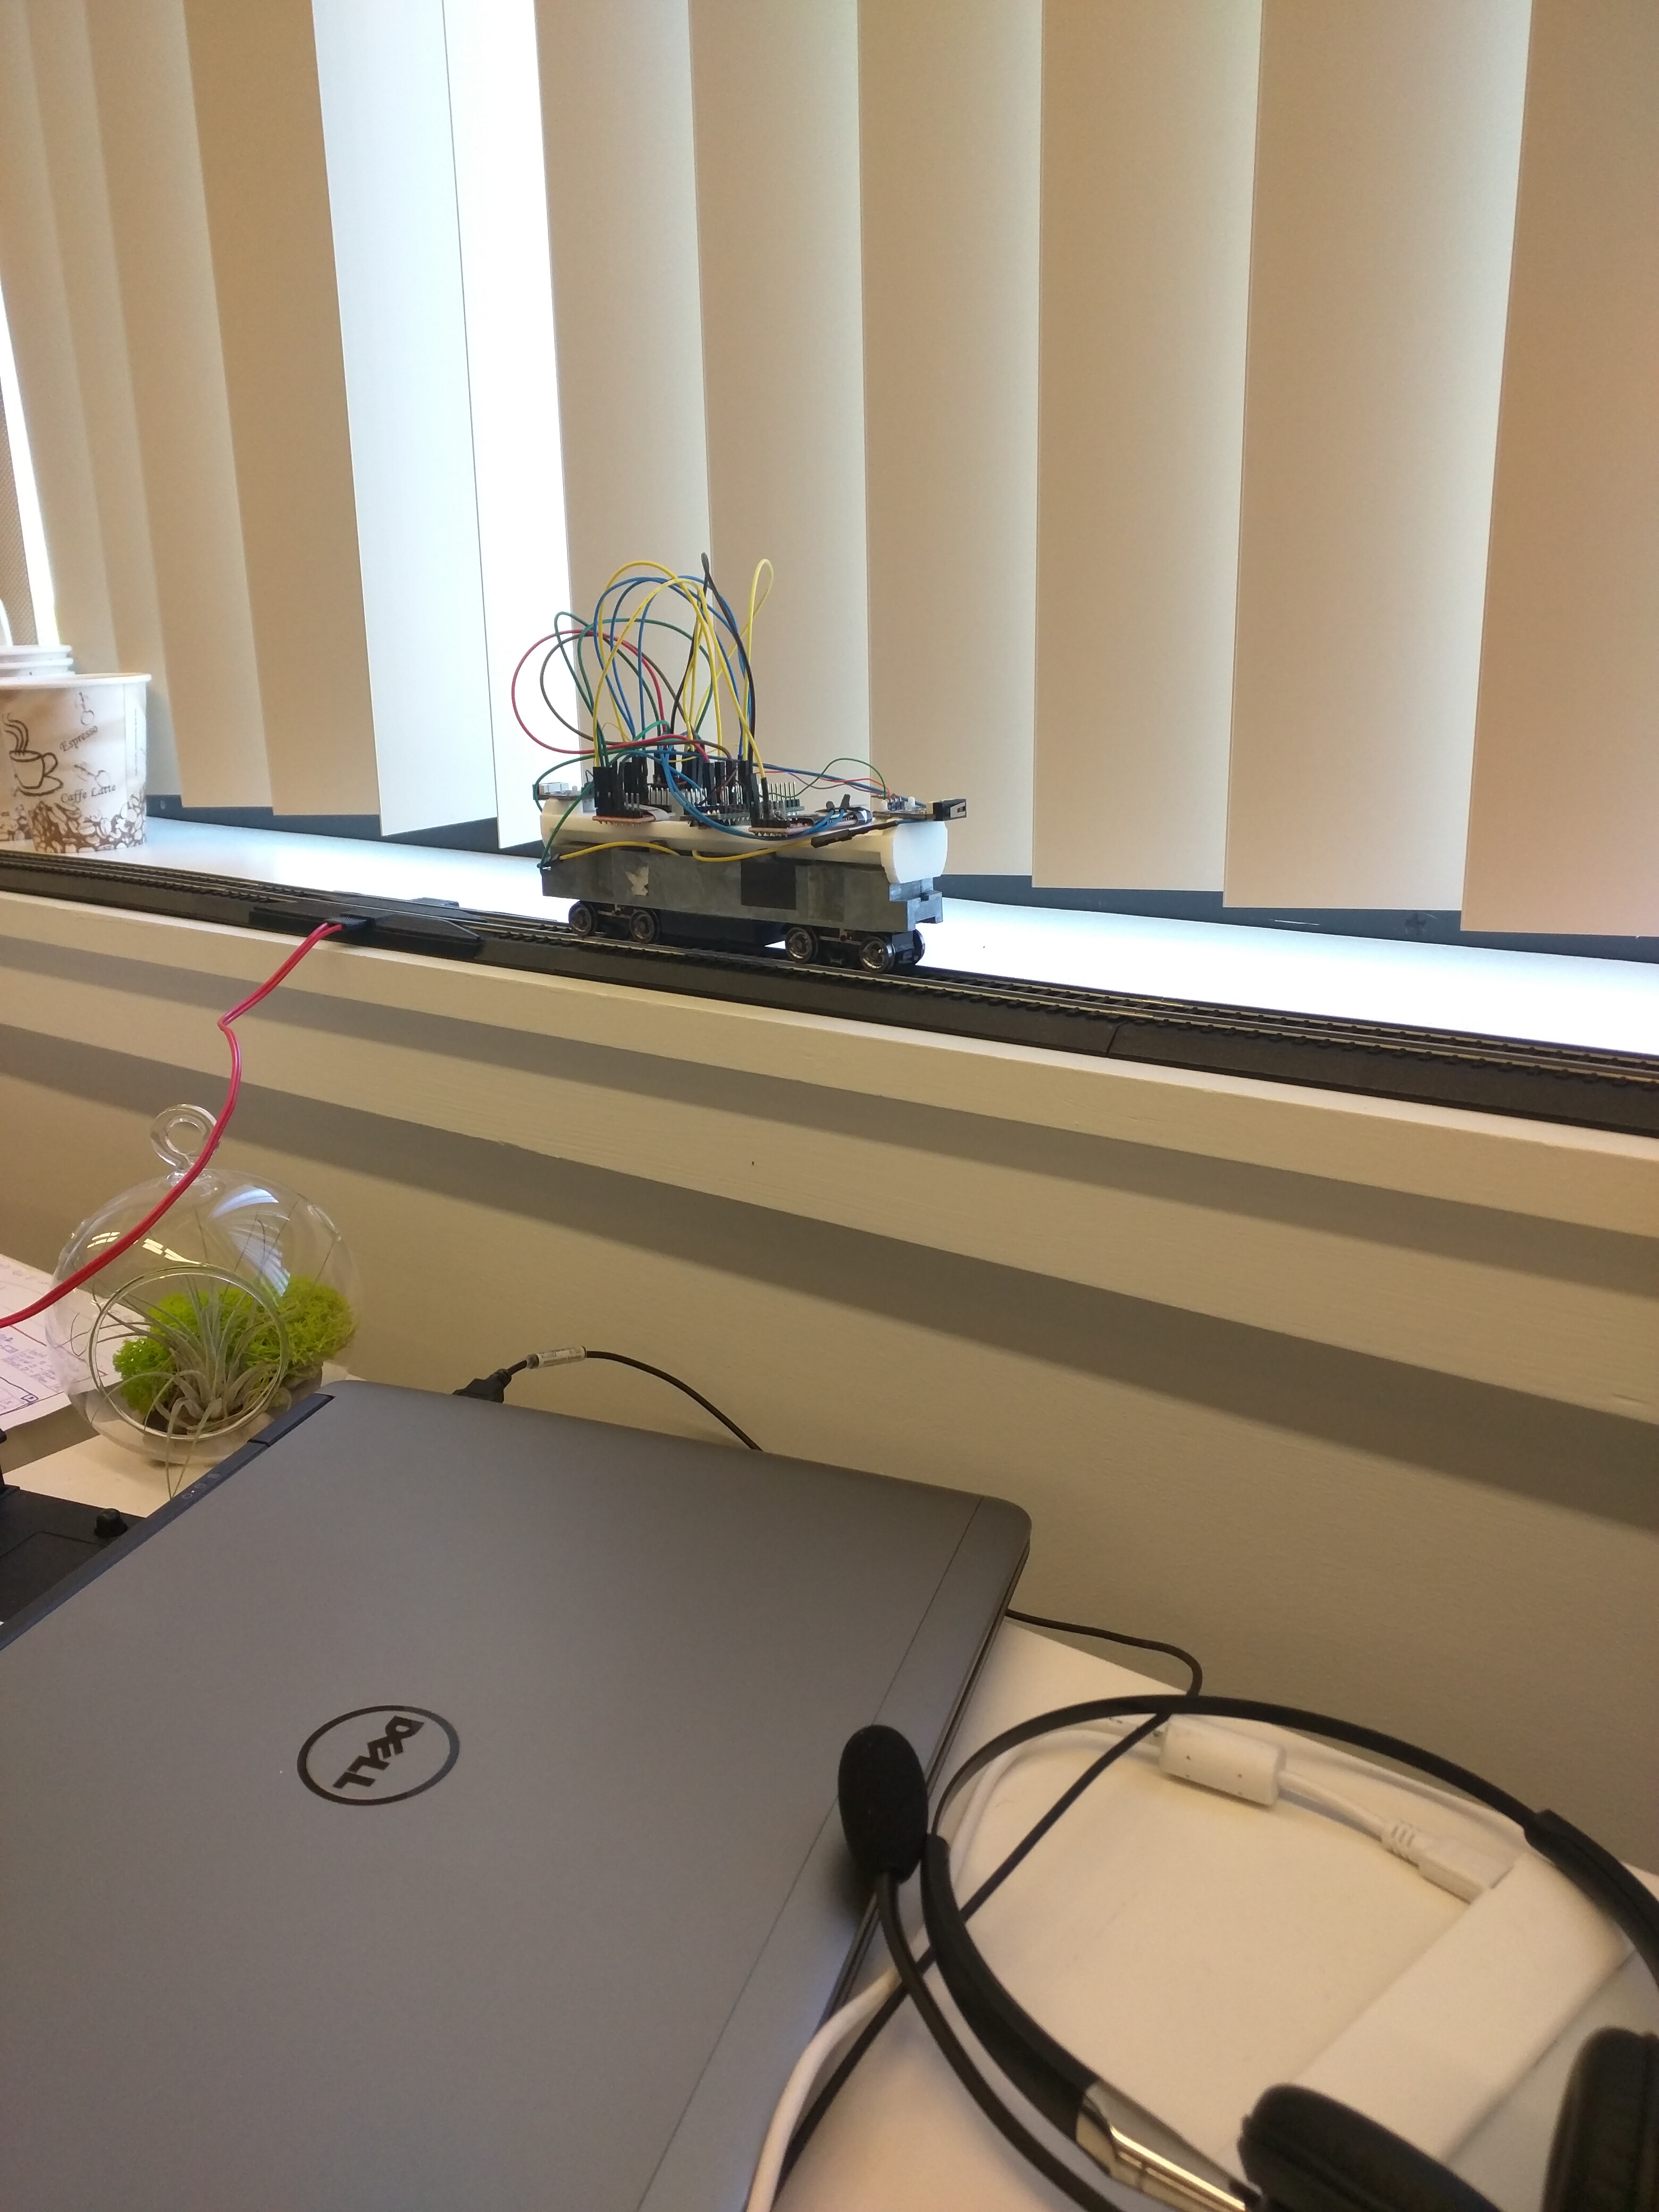
Finally I needed to put all that on the top of the train base with a nice 3D printed support. This was the good opportunity to try 3D printing. I done the design with OpenScad
Thus it might be the application you are looking for when you are planning to create 3D models of machine parts but pretty sure is not what you are looking for when you are more interested in creating computer-animated movies.
OpenSCAD is not an interactive modeller. Instead it is something like a 3D-compiler that reads in a script file that describes the object and renders the 3D model from this script file.
To sum up….you code your design and then compile it to generate the STL file 😉
I just created a basic shape with the place for the sensor at both end and then upload it on shapeways (a cloud 3D printing service).
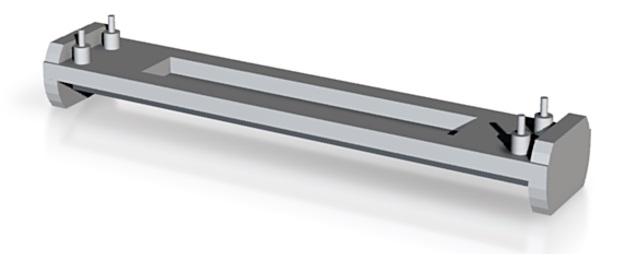
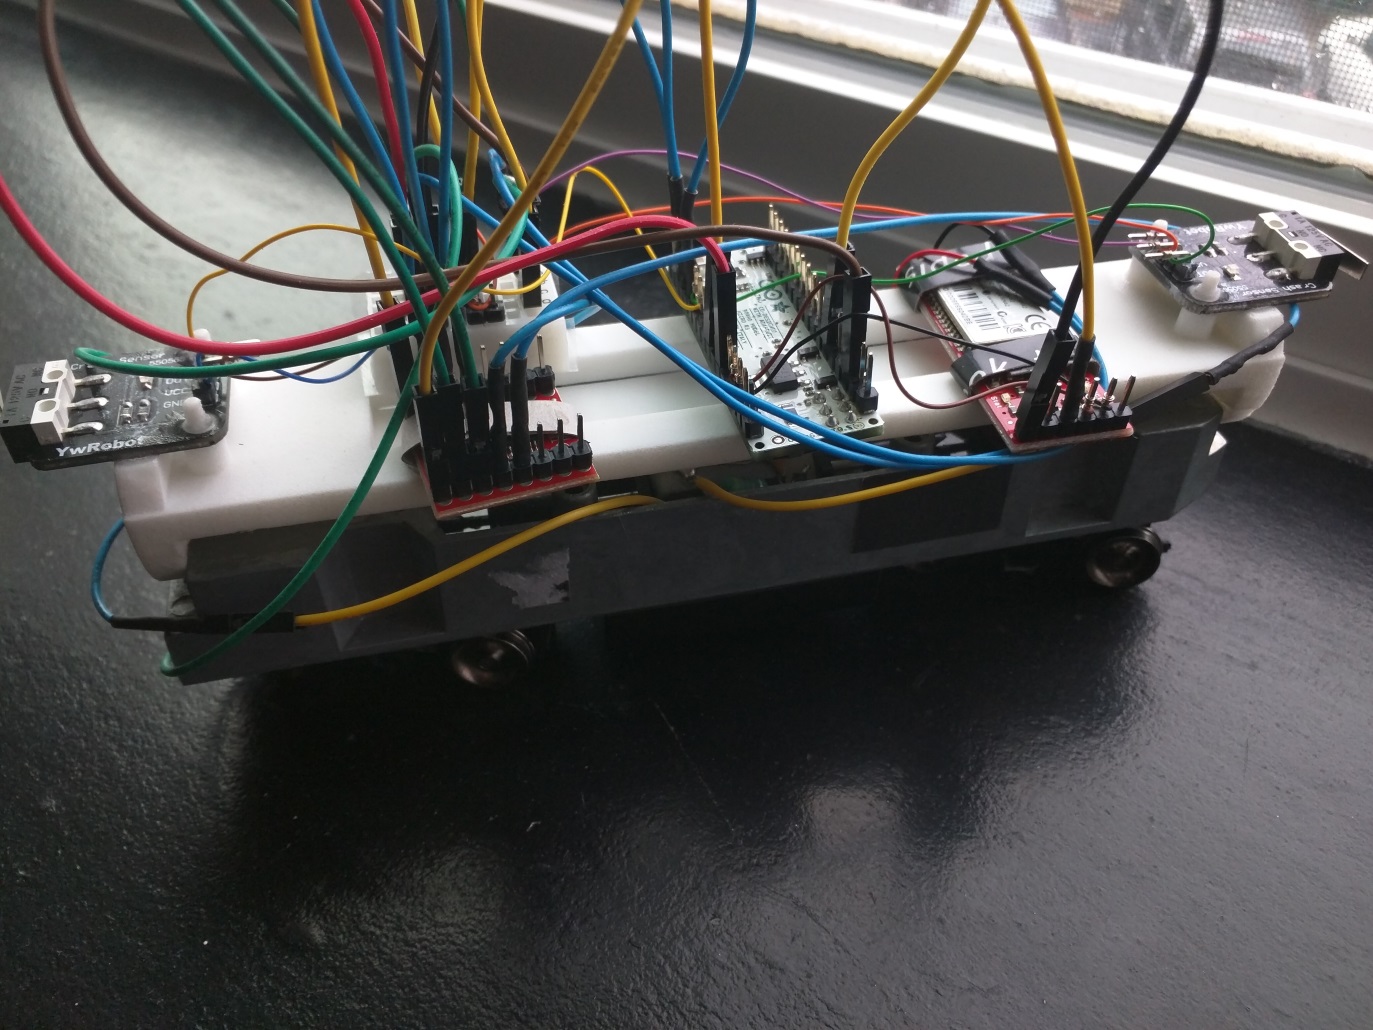
It fit perfectly the train and here is the final result once everything is mounted on it:
All the code (Arduino, Android, OpenScad) is available on my bitbucket account here.
Next step…..why not a camera on the train streaming live 😉
Pingback: Broadcast Raspberry Pi camera | Djynet
Pingback: Electric train V2 | Djynet